
Check Space Requirements
Before attaching any videos in VetlinkPro you should check if you have sufficient space on your VetlinkPro drive to store videos. Then based on how big your videos are and how many you will be saving you can do a quick calculation on if you have sufficient space.
- To do check if you have sufficient space;
- Check how big video size is? (a 20 minute zoom meeting is about 30mb)
- Check how often they plan on adding videos a week?
- Do rough calculation of how much space will be used over 6 months?
Eg. 30mb video, adding 10 a week for 6 months = (30*10) * 26 = 7.8GB - Add an extra GB to calculation above and that’s how much they will need if they want to save videos.
- Check how much space is on the D:\ (or whatever your VetlinkPro's drive is) and see if you will have enough space for next 6 months.
- Contact the network engineer looking after you server if you need more space.
a. If using “Vetlink Cloud” email support@vetlinkpro.com to organise more storage space.
b. If using Local hardware to host Vetlink email local engineer to organise more storage space.
Adding a Video
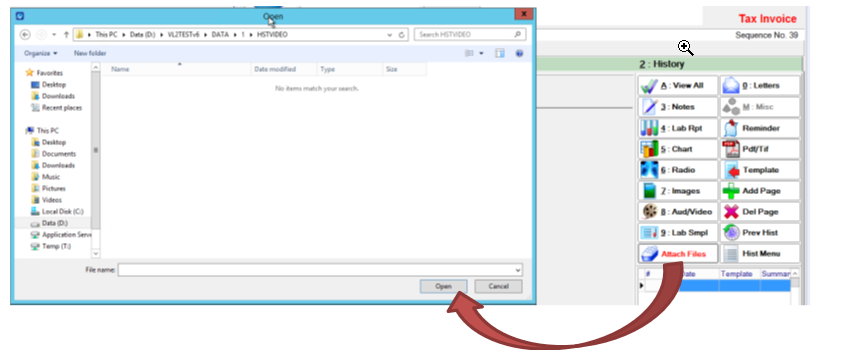
From VetlinkPro Attach File
- From Clinical History notes
- Click attach files
- Find video file and attach it.
From VL2ATTACH
- Name file as H+Animal Number. Eg. H1234
- Copy file to D:\VL2ATTACH folder.
- File will be automatically copied to the last open bill for that animal number. If no open bill exists a new bill will be created.
From VetlinkPro Add Page
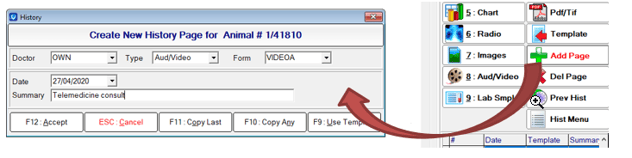
- From Clinical History Notes
- Click Add Page
- Select Doctor, set Type = Aud/video, set Form = VideoA, set Date and enter Summary.
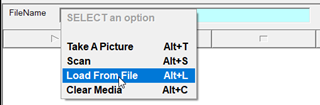
- Single left click on Blue Filename box and choose Load From File.
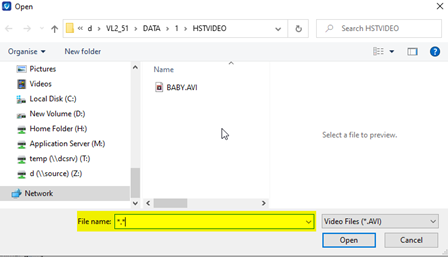
- Only AVI’s are available to select by default. Zoom files are MP4 (May allow other types from 6.0h )
- Type *.* into filename and click open.
- All file type will now be displayed.
- Find and Attach Video
Store videos on a separate drive
If you wish to store video and other attachments on a separate drive you can use the Do Not Copy From option is setup. VetlinkPro will then create a link to any files attached from this drive and not copy them to the VetlinkPro drive.
Important Notes:
Any file type supported by VetlinkPro can be linked to the Do not Copy From drive.
The Do Not Copy From drive does not work with VL2Attach folder.
There is an option to change the Standard history path in setup as well but DO NOT CHANGE this unless consulting CFL first.
To set this up;
- Go to Option -> Setup -> History
- Set the Do not Copy Files from to the new drive (it must be a mapped drive and available to ALL users)
- Save and exit setup
To use this drive.
- Save / copy any file to the Do Not Copy from Drive.
- In VetlinkPro use the Add Page or Attach Files options in clinical history to find and attach the file.
- If the file is on the Do Not Copy From drive it won’t get copied into VetlinkPro folder structure
For example- Do not Copy Files from is set to: G:\
- Vetlink is on D:\
- If you attach a file in VetlinkPro that is in G:\. The files stays in g:\ and a link is made in VetlinkPro to G:\.
- If you attach a file in VetlinkPro that is in C:\ or D:\, the file is copied to d:\vl2\data\1\Hstvideo and a link made to it.